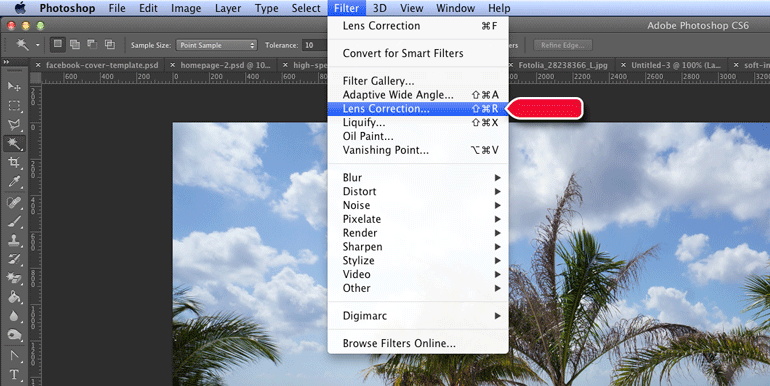
1. Go to Filter » Lens Correction…
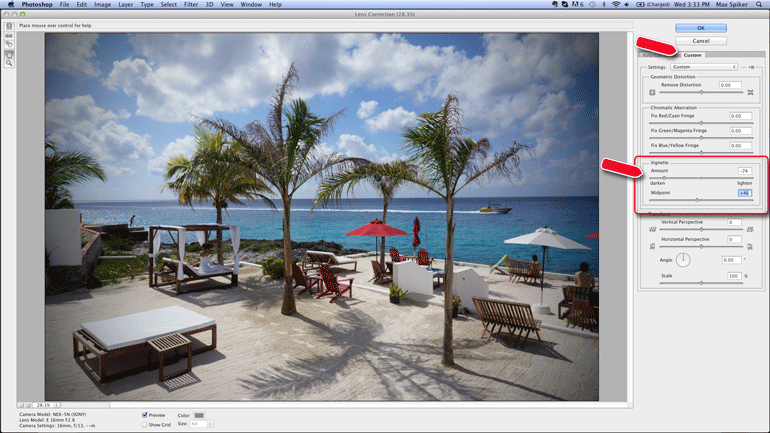
2. Click on the Custom Tab
3. Under the Vignette section, move the amount slider to the left towards “darken” and adjust the midpoint slider to suit your needs.
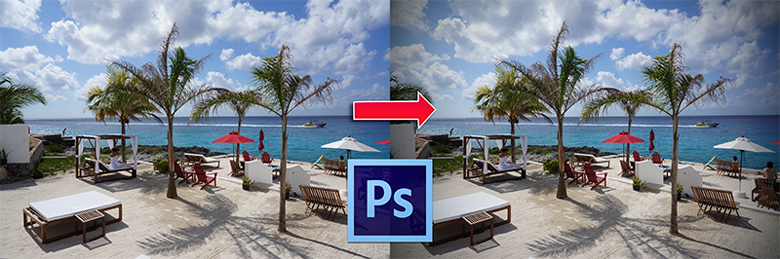
Voila! A simple vignette in just a few seconds.
Parker Benjamin is the owner of DMAD and has been writing for the web for over 10 years. He is passionate about design, Wordpress, travel, language learning, fine dining, and online marketing. Note: Some links on this site are monetized by affiliate programs - see disclosure for more details.


Dang. I have been using elliptical –> select –> inverse —> feather…yada yada yada.
Thanks for the tip!
Thanks for the easy tip. I just found your blog through Photo Pin(big thanks for the resource!) and your article including Leap has me pre-ordering. I look forward to keeping up with your blog and thanks again for putting a creative commons picture site together!
Glad you find it useful & for taking the time to comment.
I’ve been doing the same thing as Clay…this is a BREEZE, by comparison! Thanks for the great tip, Max!
Damn, man, that is a pretty sweet way to make a vignette.
*gasp!* finally! Thanks so much for this awesome tip. \^_^/
-hnP
A simple and easy way. Thank you very much
Pingback: Easy Vignette in Photoshop | Reed's Blog
Thats a great tip – thanks!
can u help me with how and where to get quality images for my designs. Thanks